Showing posts with label sustainable eating. Show all posts

Thursday, December 29, 2011

Year End 2011: How are we doing? & Lamb Chops

I get this question all the time: How are you doing? And I don't mean psychologically or health-wise (although people are usually courteous enough to ask that too); I mean our business. So I feel close enough to all of you (and know most of you personally since that seems to be who reads this blog) that I'm going to share a little. 
It's been a rough year this year, as some of you know. We had 100% losses in our first two batches of broiler chickens and only about 5 layers survived from the 50 or so we started with. We also had TINY turkeys with an average weight of 8.2 lbs.
This is a picture of our milk crate hospital pen, there is a chicken in there in the middle of the shot, halfway into a cup holding feed. That's about as big as they got from that first batch. 
I know it sounds like I'm a little grim, sorry about that! I'm trying to be hopeful and look forward to this year when our brooder will be in our new chicken building!
This should help with the disease problems, which were a large portion of our losses. 


Ok, so now for some numbers. If numbers want to make you want to hurl, just scroll down a little for pictures of my first lamb chops and Hazel! 
2011 is the first year I was in charge of record-keeping and it's also the first year we're following the Schedule F form for taxes in our expense calculations. This is a HUGE improvement, so before this year's numbers I don't guarantee any of it (and I'm not really guaranteeing this year's either).
In 2008, our first year on this farm, we had $7800 in sales and $6500 in direct expenses for those sales. Then there's a bunch of supplies and fencing and capital stuff and all that rot for a net loss of $820. 
In 2009 we had $10800 in sales and $8000 in direct expenses. After all the other stuff including a $9000 fencing and water system (of which about half was reimbursed by Uncle Sam) we had a net loss of $8000. Actually, that's not too bad considering the capital expense.
In 2010 we had $17000 in sales and $13700 in direct expenses. After all the miscellany including $1200 for a tractor swap and $3000 in cows we come to a net loss of $4200. 
In 2011 we had $13300 in sales and $9500 in direct expenses. After all the other stuff including $5000 for the new building we have a net loss of $3000. 


So how are we doing? I'm not sure. I've never done this new business thing before. I know you're not really supposed to make money until at least year 5 if not year 7 or 8, but I certainly would like to be closer to breaking even than we are. Of course, this is without taking out truck mileage or accounting for labor (that's free, right?). This year I think we would have made money even with the building expense if our turkeys had been "normal" and our chickens hadn't died in droves. In the spirit of the end-of-the-year wrap ups, I'm going to try to put 2011 behind us and look forward to 2012!


Are you interested in this info? Or is it just TMI and everyone scrolled past it?


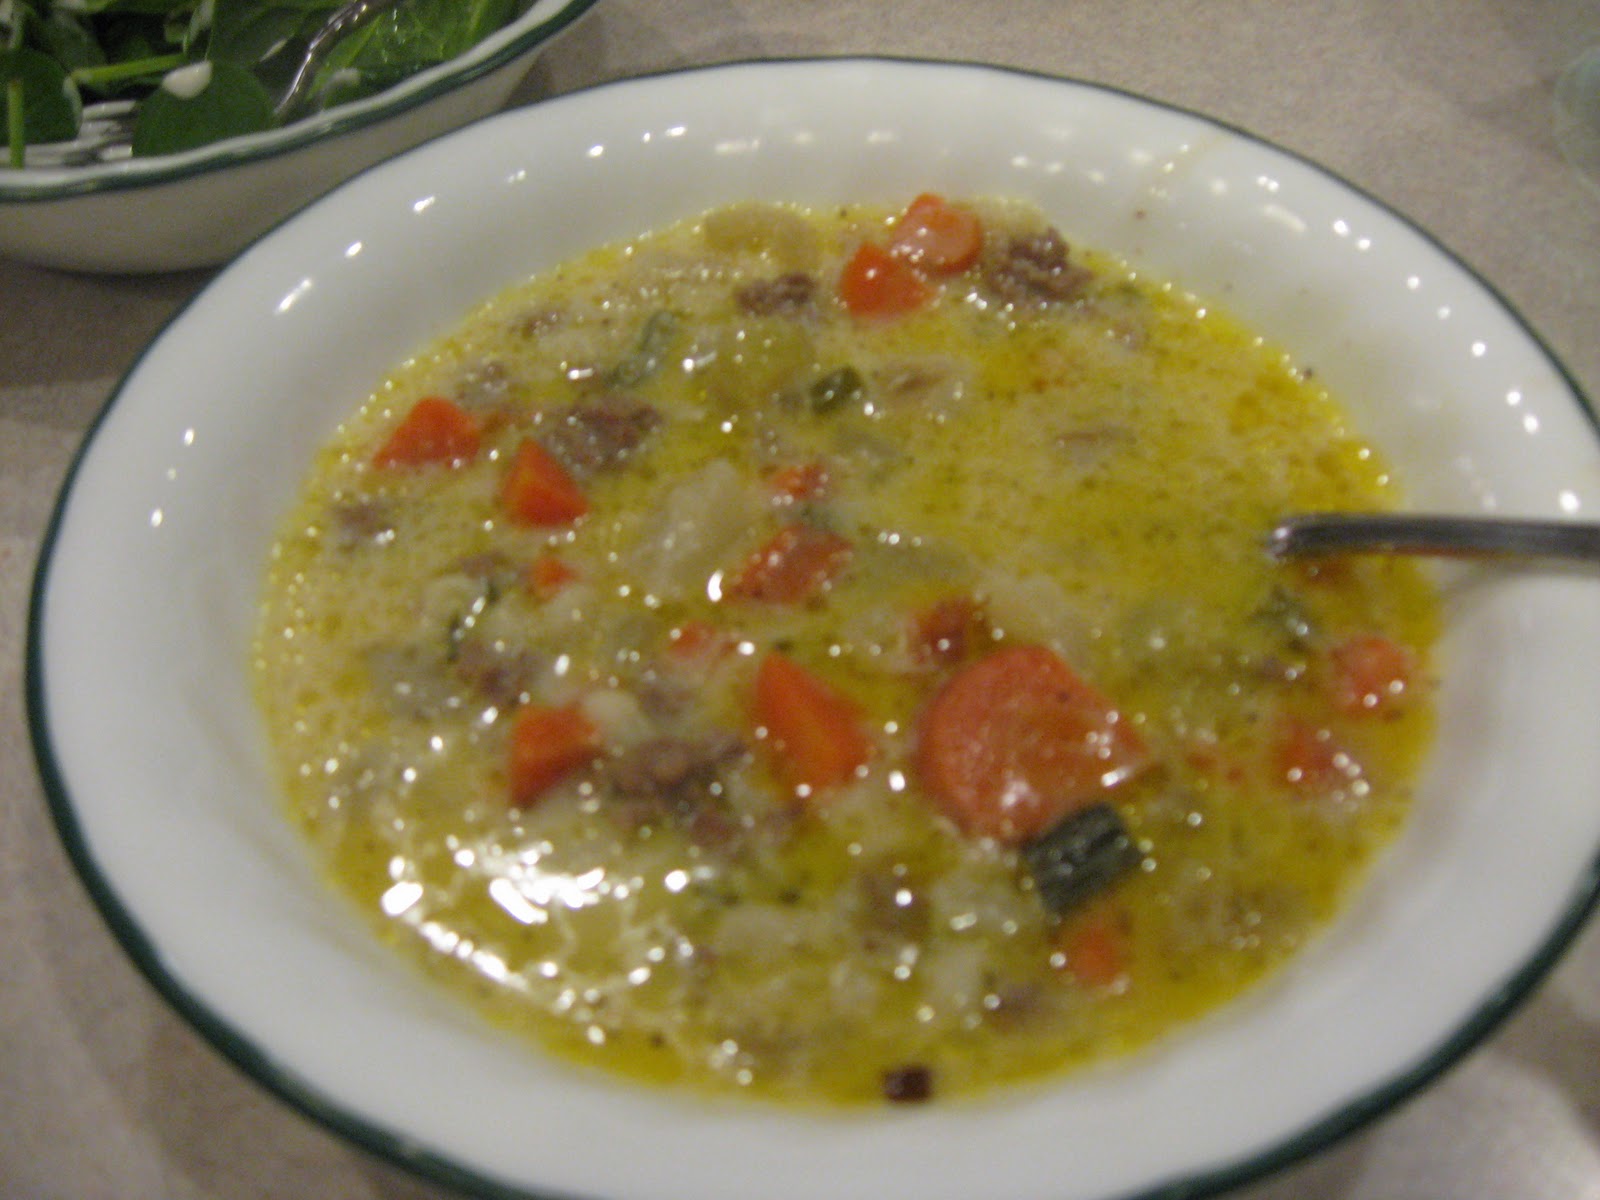
Now, as promised, here is a picture of the lamb chops I cooked up!
They were rubbed with a mint sauce/rub, and served with some golden potatoes. Totally completely awesome. They practically melted in our mouths. Ryan suggested I cook some because until now we've just sold them without ever having made them! He's right, of course. Here's the whole rack, in a less presentation conscious arrangement:
We may not be making money yet with our business, but I tell you the perks are un-freaking-believable!

And now for the Hazel pics of the day. We were folding laundry and tossed a Practical Farmers of Iowa (PFI) T-shirt on her. Ryan wears these constantly and has 4 or 5 of them. So here's our future practical farmer:
We're going to the PFI conference in a couple of weeks, I'll try to remember to report in on it. 
I think you are probably aware we just had Christmas. Therefore, we need an obligatory opening presents pic of the munchkin. 
Lucky you, we even got Nermal in the shot!

Saturday, February 5, 2011

The Lambs are Growing & Scotch Barley Soup

The lambs are doing what lambs do well, and growing. Ditto 9-month-old Hazel.

Hazel is no longer terrified of them, and we even got her to get close to them. She still wants me really close to her when she's near them, though.
The little ewe is in the background, she has Barbados coloring with a Katahdin build. The little ram that I pulled out is in the foreground and has Katahdin coloring but a Barbados build. 

On another note, today I'm doing a recipe for Scotch Barley Soup! I found this recipe online and have modified it a little, supposedly it is from the Rose & Crown Pub at the UK Epcot. I just know that it is the absolute best recipe for ground mutton that I have found. Most recipes just don't stand up to that strong flavor, and taste too "mutton-y". If you've ever had mutton, you know what I'm talking about. It's not an easy weeknight style meal though since it has to simmer for an hour or so. It's a weekend afternoon thing for me.
Anyway, I realize that most people don't exactly have ground lamb or ground mutton on hand, but I'm also posting this so I can point customers to it in the future! It's very possible that ground beef would work in this soup, post a comment if you try it and let us know if it works!!
Also, I think this recipe would be just fine lactose-free by changing the butter to oil and changing the milk & cream in the last step to broth.

Ingredients:
1 c pearl barley
1/4 c butter (4 Tbsp)
1 c combination of leeks, onions, green onions (I use whatever is in my fridge or is seasonal)
1 c diced carrots
1 c diced celery
1 c diced white turnips (this is 2-3 depending on how big they are)
1 lb ground lamb or ground mutton
2-3 Tbsp flour
64-128 oz chicken broth (more broth=thinner soup. I usually just use about 64 oz--2 cartons--plus whatever is open in my fridge and needs to be used up)
salt & pepper
2-3 Tbsp cornstarch
3/4 c milk
3/4 c cream

Soak the barley in boiling water for 10 minutes while you work with the other ingredients.
Chop the veggies into bite-sizes pieces. I thought I'd mention here that if you get turnips from the grocery store instead of the farmer's market, it comes with a wax coating so you have to skin the turnip with your knife. 
Saute the leeks/onions/white part of green onions in butter in Dutch oven for 5 minutes. Add the carrots, celery, turnips & cook for 10 minutes. Throw in the green parts of the green onions now if you're using them.
Add meat to veggies & cook until lightly browned. Sprinkle flour over meat to absorb fat. Drain barley and rinse with cold water.
Add barley and 1 c broth to meat & veggies. Cover and let steam over low heat 10 minutes. Add remaining broth and bring to a boil. Reduce heat and simmer 1-1.5 hrs or until barley is tender. 

Take soup off heat. Blend cornstarch, cream, and milk and then stir into soup.

Add salt & pepper to taste. 
And you're done! This soup freezes really well, but usually Ryan and I just eat it as leftovers for a few days. Between the two of us, it lasts for about 4 meals each total (including the fresh soup). 

Tuesday, January 25, 2011

Adorable Appreciation & Omelettes

One of our customers calls us periodically to come pick up eggs, and she came out to the farm yesterday. Not only did she brave our 2 miles of icy gravel roads, she brought us an adorable thank-you.
I guess my point here is that if there's someone in your life that you appreciate, don't forget to thank them! It means a lot.


So I also thought I'd post a recipe for something we actually raise here on the farm: omelettes! No, we don't raise omelettes (that would be cool), but we have some super tasty eggs. Tasty enough that people will brave 2 miles of icy roads for 5 dozen of them. But anyway, back to the recipe!
I know an omelette is a simple food, but it's what we had for dinner, is delicious, is super fast, and is easy. It's also great for a lot of the random leftovers in the fridge! The ingredients are:


eggs (I like 2-3. I make mine with 2 and Ryan's with 3)
milk (just a splash)
salt & pepper
butter
fillings (mine are green onions, provolone cheese, and summer sausage)


First, throw a splash of milk in a bowl. You might even be able to skip this, but I always add it. I'm talking about maybe 1 tablespoon or so.
Add the eggs, salt, and pepper. If you're using green onions or something else that is spice-like, add it now. Paprika works well here, or really anything.

Whisk well. You actually want it both well-combined and to add a touch of air into it to make the omelette fluffy. 

Butter a medium nonstick skillet over low-med heat (yes, this picture is terrible. I apparently can't take pictures with my left hand while buttering a skillet with my right). You could probably use oil here if you want to.
Pour in the egg mixture and cover. This will need to cook for about 2 minutes.
Your omelette is ready for fillings when it looks like this: just set around the edges, and a little soupy in the middle.
Add your fillings. This is a good place for last night's taco meat, that tiny bit of cheddar in your fridge drawer, etc. Put it in half of the pan and run your spatula all the way around the edge of the omelette to loosen from the pan. Then slide the spatula under the half without the filling and flip it on top of the filling.
If you make a mess of this the first couple of times, that's ok! It will still taste good. Enjoy!

Sunday, September 26, 2010

Quilt Step Three & Applesauce

This is the third step in a quilt design for me: drawing it on graph paper to scale. Although I admit, I have been known to whip out a 2D CAD program during my lunch break and design quilts that way too. For the fellow geeks out there: yes, this is engineering paper. I design most of my quilts on engineering paper. I think it's mostly because I'm comfortable with it and I have some left over from my college days.


So yes, when I tell people that quilting is like engineering, this is one of my reasons! My scale drawing helps me figure out how to lay out and cut my fabric when it comes time to do so. 


Part of eating locally is definitely storing food. Whether that be freezing, canning, drying, whatever. So I have a friend who has an apple tree (or 6!), and we also have an apple tree that is old enough to give fruit. We have several others as well that are getting there that Ryan planted, but our orchard is not really up to full swing yet. So one thing we've taught ourselves to make is applesauce. Now, I say "taught ourselves" because we do some things more of a "cheater" way due to our lack of patience and our lack of a food mill.
Step one is to core and cut the apples into largish pieces. We don't peel them because we don't mind the taste of the peels and that is where all the nutrition is!


Step two is to throw the apple pieces into the food processor and chop fairly finely.
The raw chopped apples


Step three is to put the apples in a saucepan with a little water or apple juice and some lemon juice (a couple tablespoons of each of these). Then you simmer it until the apples are soft, it takes about 15-20 minutes.


Raw apples in the saucepan
Step four is to add some sugar (I used brown sugar, about 2 Tbsp or so) and about 1/2 tsp of cinnamon (obviously the cinnamon is optional). If I'm feeling like it, I'll thrown in some ginger and/or nutmeg too. Then I simmer it 2-3 more minutes to get it all combined.
The completed applesauce: Ugly but yummy!
Voila, applesauce! Sometimes I can this, (like 2 years ago I did) but this year I just filled quart-sized ziploc bags and stacked them up in the freezer. We did about 6 rounds in the saucepan and got about 5 bags as well as another 3 cups or so for the fridge for the next few days' eating. If you wanted to, the warm applesauce could be pulsed in the food processor to make it finer. This is how you're supposed to do it, but I don't like dealing with all that hot, sticky applesauce. 
The applesauce assembly line in process


Friday, May 21, 2010

Hazel, Oatmeal, & fabric organization

As most of my readers probably know, my short hiatus the last couple of weeks was because I had a little girl, Hazel. This picture is of my personal favorite facial expression of hers because I think she looks like she is trying to solve the world's problems. It's especially ironic that this picture was taken on the changing table. But this is not a baby blog, so I will not be putting lots of pictures of Hazel on it. It is a quilting and farm life blog with some thoughts on sustainability thrown in for spice.


Speaking of sustainability, I am increasingly convinced that oatmeal is really a Super Food.
This is my breakfast every morning, and we buy our oatmeal from Paul's Grains in Marshalltown. Between one annual checkup and the next I started eating oatmeal every morning and my cholesterol dropped 40 points. That was amazing, but seemed like a reasonable thing to expect. But now that I've been looking at baby articles, etc, I'm learning that oatmeal also boosts breastmilk production. Really? That's crazy! I'm finding myself wondering what else this stuff does. Is there a drawback? As a side note, people say they don't have time to make oatmeal before work. You're right, neither do I. But we've found we can make a big batch on the weekend and then store it in a container in the fridge, dishing it out like leftovers and heating it in the microwave. It works great!

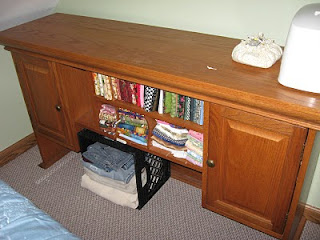
Lastly, on the quilting front I haven't gotten much done recently (I wonder why...) but one main goal I had for my maternity leave was to reorganize the space that I have now that my craft room has become the baby's room. So while my good friend Leah was visiting me yesterday, she helped me figure out how to get all my fabric into my new smaller space. She even sat and folded it with me (how great a friend is that)?! So now the three foot pile of fabric has been cleared from my table and I'm one step closer to getting back in the quilting groove.